Homemade Peanut Butter Cups with Sea Salt
Highlighted under: From the Oven
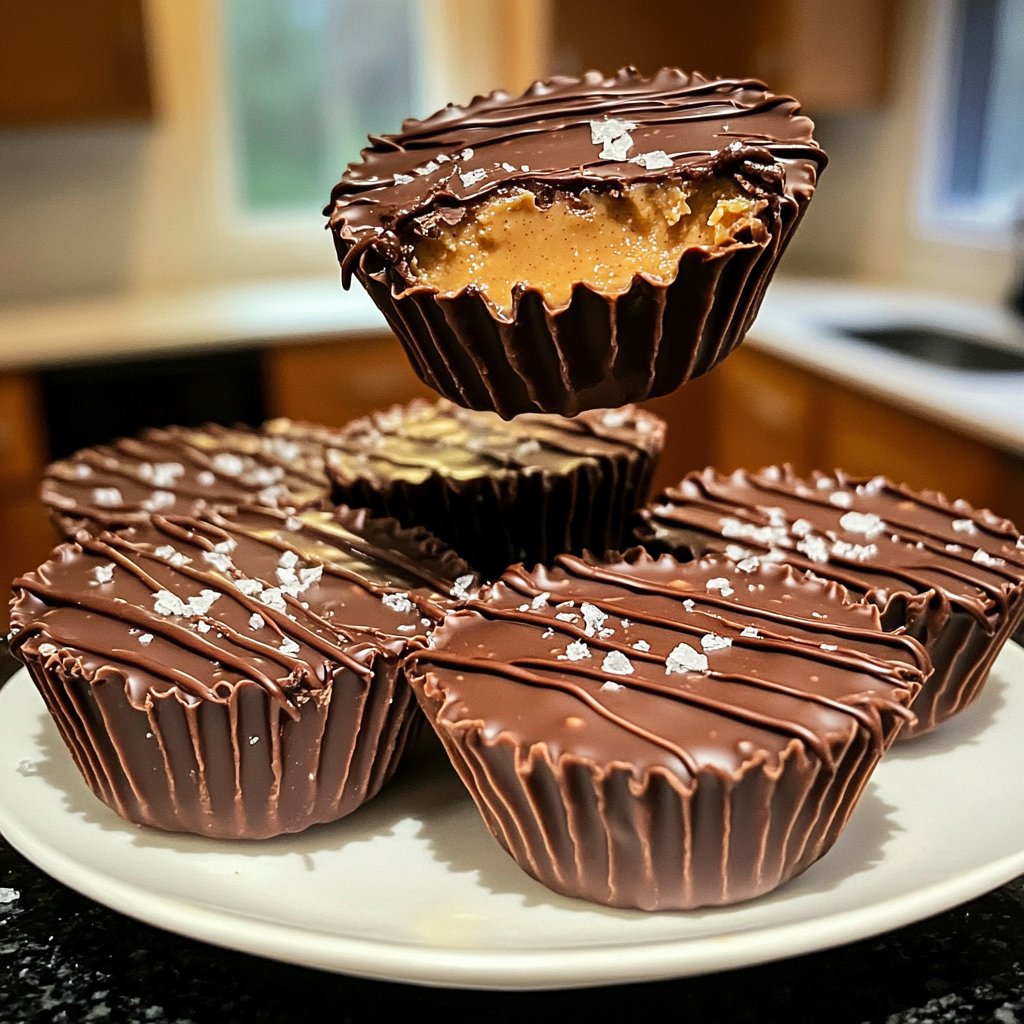
I love making these Homemade Peanut Butter Cups with Sea Salt because they bring together two of my favorite flavors: creamy peanut butter and rich chocolate. Every bite is a delightful combination of sweet and savory, and the sprinkle of sea salt elevates the taste to a whole new level. Plus, making my own means I can adjust the ingredients to my liking, ensuring the freshest flavors. Trust me, once you try these, you’ll never want to go back to store-bought again!

As I experimented with different recipes, I discovered that using high-quality chocolate made all the difference in flavor. I tried both milk and dark chocolate, but a rich dark chocolate paired beautifully with the creamy peanut butter. The chocolate hardens perfectly when chilled, resulting in a smooth and satisfying bite.
A key tip is to use natural peanut butter, as it has no added sugar or oils, allowing the pure peanut flavor to shine through. The sea salt on top adds just the right amount of contrast to balance the sweetness, making these cups irresistible!
Why You'll Love This Recipe
- Rich chocolate flavor paired with creamy peanut butter
- A touch of sea salt that enhances the overall sweetness
- Homemade goodness that beats any store-bought version
Perfecting the Peanut Butter Filling
The peanut butter filling is the heart of these cups. Choosing a good quality, creamy natural peanut butter is crucial for achieving the right texture. Natural peanut butter tends to be smoother and less sugary than typical brands, allowing the flavors to shine. It blends seamlessly with powdered sugar and vanilla, creating a well-balanced sweetness that won’t overpower the chocolate. If you prefer a healthier option, consider using almond or cashew butter instead, just be aware that the flavor profile will change slightly.
When mixing the filling, be sure to incorporate the powdered sugar slowly to avoid clumps. This will help ensure that the filling is smooth and easy to scoop. Aim for a consistency that holds its shape when formed into balls. If you find it too soft, a little more powdered sugar can help, but be cautious not to add too much, or it might become overly sweet.
Chocolate Coating Techniques
The key to a luscious chocolate coating is proper melting. Microwaving chocolate chips in 30-second intervals prevents overheating, which can cause the chocolate to seize. Stir between each interval to encourage even melting. If you're using a double boiler, keep the water just below a simmer; the steam will gently melt the chocolate without the risk of direct heat. Once melted, the chocolate should be glossy and pourable, ensuring a smooth coating around your peanut butter filling.
Adding coconut oil not only gives the chocolate a beautiful shine but also makes it more pourable and easier to work with, particularly in warmer environments. If you want to skip the coconut oil, using a little vegetable oil or shortening can work as an alternative, but the coconut oil adds a subtle flavor that complements the peanut butter well.
Chilling and Storage Tips
After assembling the peanut butter cups, chilling them for 15-20 minutes is key for a set, satisfying texture. To avoid them sticking together, ensure they are in a single layer in the refrigerator. If you want to enjoy them at a later time, these cups can be frozen for up to three months. Just layer them between parchment paper in an airtight container to prevent sticking. When you’re ready to enjoy, let them thaw in the fridge for a couple of hours for the best texture.
For serving, I like to present these cups on a decorative plate with a sprinkle of additional sea salt on top for a pop of flavor and visual appeal. They make fantastic individual treats for parties or a delightful homemade gift. You can also drizzle some extra melted chocolate on top for an elegant touch, making your homemade creation look even more enticing.
Ingredients
Gather these simple ingredients to create your own peanut butter cups!
For the Peanut Butter Filling
- 1 cup creamy natural peanut butter
- 1/2 cup powdered sugar
- 1 teaspoon vanilla extract
For the Chocolate Coating
- 1 cup dark chocolate chips
- 1 tablespoon coconut oil
- Sea salt for sprinkling
Make sure to use quality ingredients for the best flavor!
Instructions
Follow these steps to make your homemade peanut butter cups.
Prepare the Peanut Butter Filling
In a mixing bowl, combine the creamy peanut butter, powdered sugar, and vanilla extract. Mix until smooth and set aside.
Melt the Chocolate
In a microwave-safe bowl, melt the dark chocolate chips and coconut oil together in 30-second intervals, stirring in between until smooth.
Form the Cups
Using cupcake liners in a muffin tin, pour a small amount of melted chocolate to cover the bottom. Add a spoonful of peanut butter filling, then top with more melted chocolate until fully covered.
Chill and Serve
Sprinkle a touch of sea salt on top before placing the tin in the refrigerator. Chill for about 15-20 minutes until set. Enjoy!
These delightful cups are sure to impress your friends and family!
Pro Tips
- For an even more decadent treat, try adding a layer of crushed nuts or a drizzle of caramel before covering with chocolate.
Variations to Try
Feel free to experiment with the type of chocolate used for coating; milk chocolate can yield a sweeter result, while dark chocolate provides a bolder flavor. For a twist, try adding a few crushed pretzels or nuts into the peanut butter filling. This adds texture and a salty crunch that complements the sweetness of the chocolate quite nicely.
If you want to add a different flavor profile to the filling, consider incorporating a small amount of cinnamon or even a pinch of cayenne pepper for a spicy kick. This unexpected twist can elevate your homemade cups to a new level and impress your friends and family with creative flavor combinations.
Troubleshooting Common Issues
If your chocolate coating is too thick to spread easily, it may not have enough fat. Simply return it to the microwave for another 10 seconds with a small amount of coconut oil and stir until smooth. On the other hand, if your chocolate is too thin, consider adding more chocolate chips and re-heating gently until fully melted and combined.
If the peanut butter filling is too runny and doesn’t hold its shape, adding more powdered sugar can help thicken it. Aim for a balance where the peanut butter mixture is pliable but not too sticky. Remember that varying humidity levels can affect the consistency, so adjust accordingly.
Make-Ahead Ideas
These homemade peanut butter cups are perfect for meal prep or making ahead of time. You can prepare the filling and chocolate coating in advance, store them separately in the fridge, and assemble when you’re ready. This allows you to enjoy fresh cups whenever a craving hits without the full prep time.
Additionally, you can customize the sizes of your cups. Use mini muffin tins for bite-sized treats or larger muffin tins for a more indulgent dessert. Adjusting the size also allows for different chocolate to filling ratios, perfect for those who enjoy a thicker layer of chocolate or filling!
Questions About Recipes
→ Can I use a different type of nut butter?
Absolutely! Almond butter or cashew butter work well as alternatives.
→ How long can I store these peanut butter cups?
They can be kept in the refrigerator for up to 2 weeks, or frozen for longer storage.
→ Can I make these vegan?
Yes, just use vegan chocolate chips and ensure your peanut butter is free from additives.
→ What can I do if my chocolate isn’t melting smoothly?
Make sure to melt it slowly to prevent burning, and adding a little coconut oil can help achieve a silky texture.
Homemade Peanut Butter Cups with Sea Salt
Created by: Amber Walsh
Recipe Type: From the Oven
Skill Level: Intermediate
Final Quantity: 12 cups
What You'll Need
For the Peanut Butter Filling
- 1 cup creamy natural peanut butter
- 1/2 cup powdered sugar
- 1 teaspoon vanilla extract
For the Chocolate Coating
- 1 cup dark chocolate chips
- 1 tablespoon coconut oil
- Sea salt for sprinkling
How-To Steps
In a mixing bowl, combine the creamy peanut butter, powdered sugar, and vanilla extract. Mix until smooth and set aside.
In a microwave-safe bowl, melt the dark chocolate chips and coconut oil together in 30-second intervals, stirring in between until smooth.
Using cupcake liners in a muffin tin, pour a small amount of melted chocolate to cover the bottom. Add a spoonful of peanut butter filling, then top with more melted chocolate until fully covered.
Sprinkle a touch of sea salt on top before placing the tin in the refrigerator. Chill for about 15-20 minutes until set. Enjoy!
Extra Tips
- For an even more decadent treat, try adding a layer of crushed nuts or a drizzle of caramel before covering with chocolate.
Nutritional Breakdown (Per Serving)
- Calories: 180 kcal
- Total Fat: 14g
- Saturated Fat: 4g
- Cholesterol: 0mg
- Sodium: 40mg
- Total Carbohydrates: 15g
- Dietary Fiber: 1g
- Sugars: 10g
- Protein: 4g